Around here, in the beautiful Okanagan valley, it has just started feeling like fall. So, can you please explain to me exactly, how it is actually only 10 WEEKS until that jolly fat man in the red suit will be breaking and entering all over the world again? That is 70 days people!! WOW!!
Well, to celebrate the on-coming festive season I will be doing special 10 weeks of Christmas posts featuring my must-have Christmas items and lots of great ideas for gifts, cards, decor and more. PLUS! There may even be some SURPRISES!
hint: keep reading.
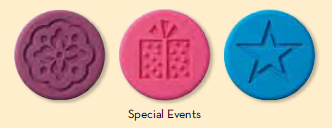
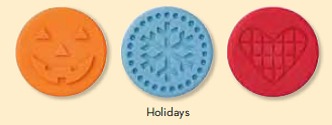
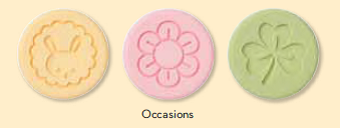
This week features the must-have Sweet Pressed Cookie Stamps. I have so many friends who try these out and fall in love with them. The stamps come with a super-duper easy cookie recipe and they are just so darn easy to use that all the kids can squish the cookies with the stamps and they always come out perfect. There are three sets to choose from and each comes with a wood handle and three silicone stamps.
My new Holidays Cookie Stamps are currently on the road being shipped to me today. I can't wait! And you shouldn't wait to make these a part of your holiday traditions either. In fact, to make it these stamps even sweeter, I will offer NO SHIPPING COSTS for all the cookie stamp orders that are placed by this Saturday, October 20th by 12 noon! You will get your order just in time to whip up some cookies for a Halloween party :)
Mmmm. I love cookies.....
Happy Thanksgiving to all my Canadian friends. I have been reflecting for some days now about how very grateful I am for the life I have. The big stuff and the little stuff, and the things that I can sometimes take for granted I am so thankful for today and every day.
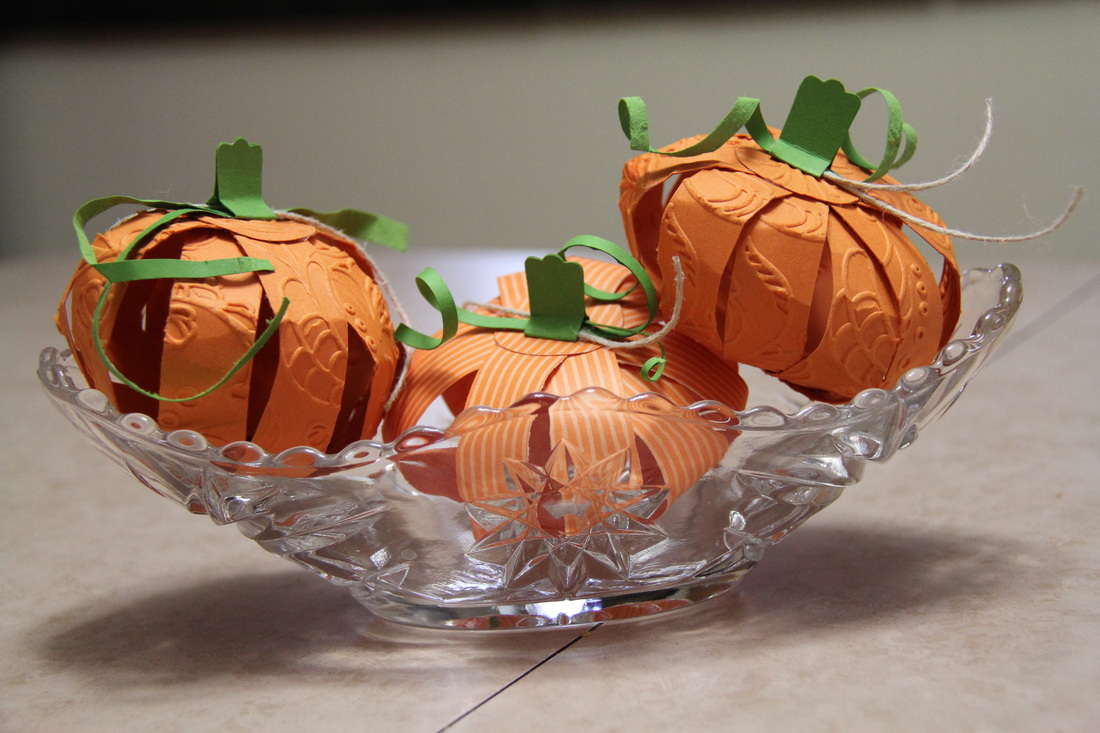
Our family enjoyed turkey day at my In-laws home with extended family and it was an extremely enjoyable evening. I made up a seasonal centrepiece for the occassion. Paper pumpkins and a gold doily on a footed plate with a candle. Perfect!
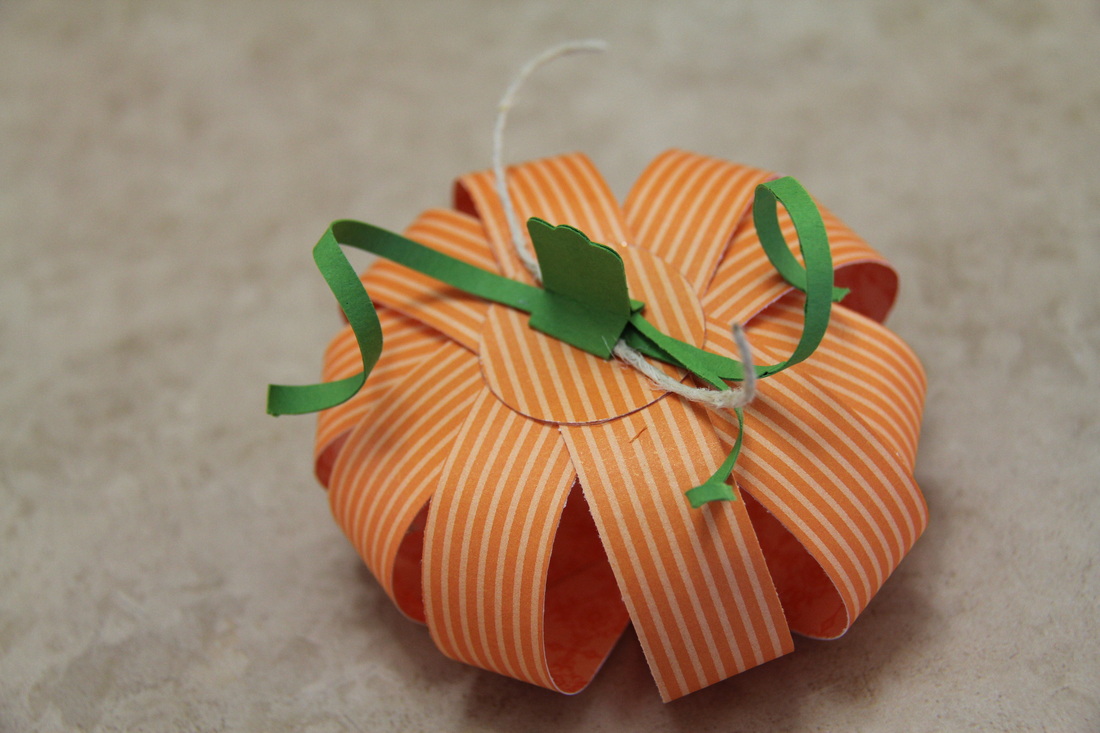
I decided that a pumpkin theme could probably hang on all through the fall, rather than just for a weekend :) So here they are now...a little less formal but still darn cute don't you think?
These came together really quickly too. Perhaps you would like to make some for Halloween or fall decorations, so here is how I did it:
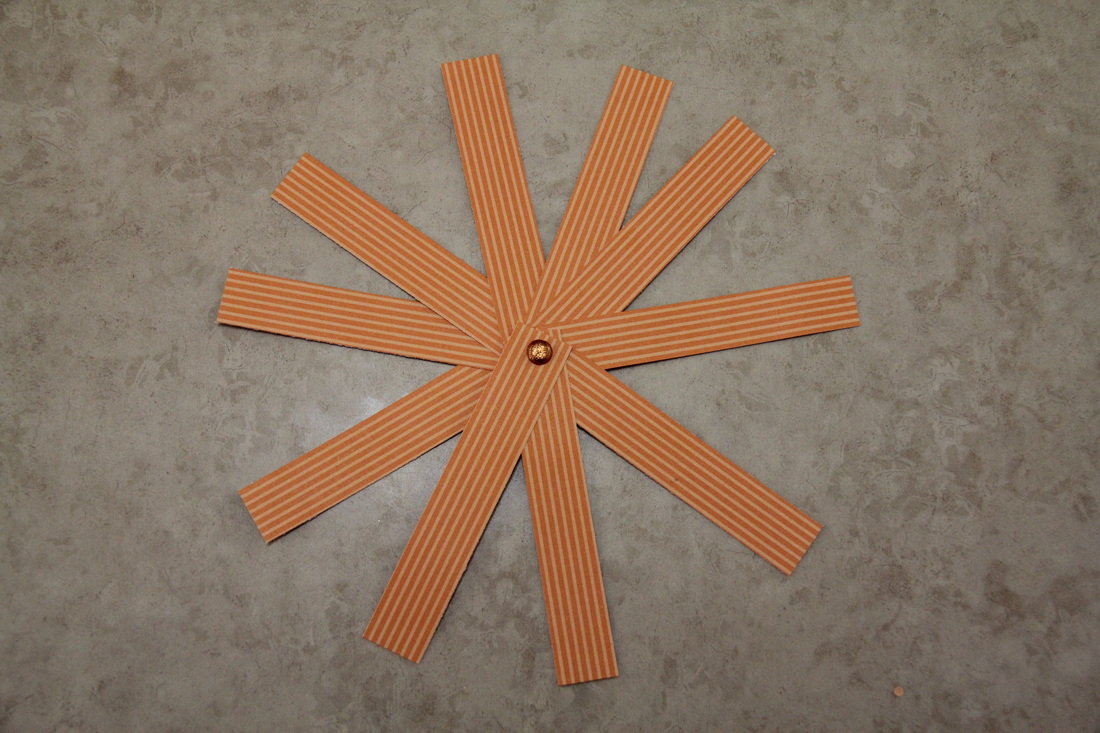
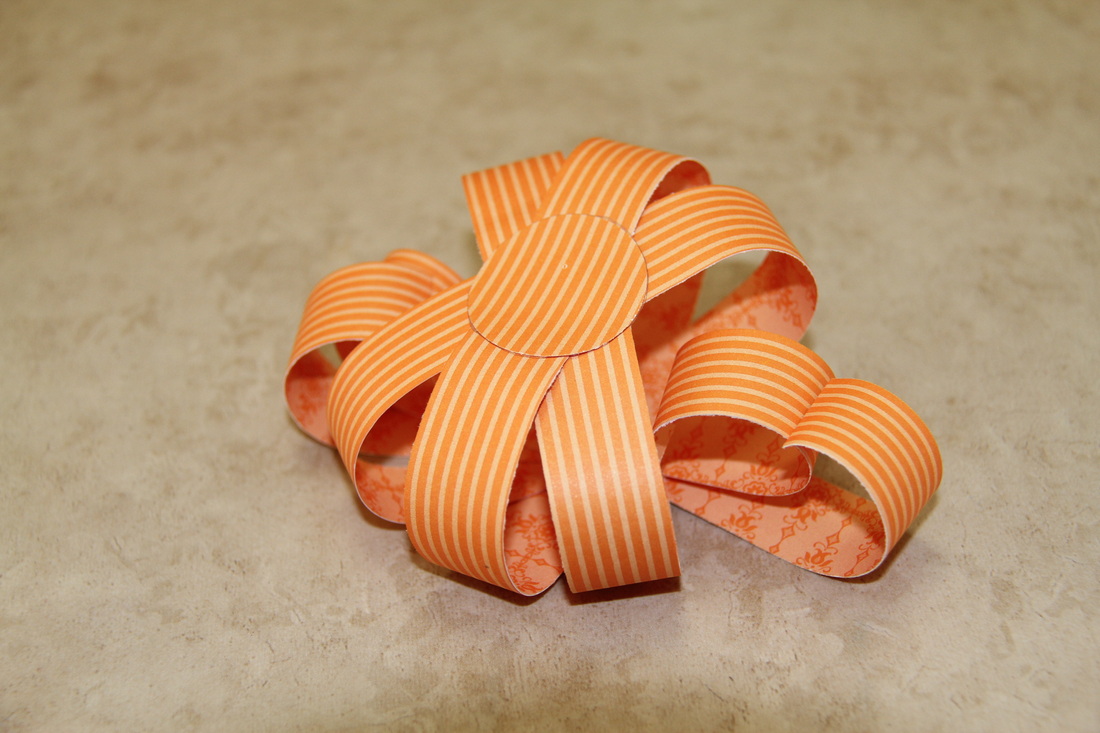
For each pumpkin I cut 10 strips of paper 4" x 3/4" and punched a hole near the one end of each strip. Then I threaded each strip onto a brad. I ran each stip down my bone folder to help them curl up. Then I punched out a 1 1/4" circle of the same paper and stuck it onto a Jumbo Sticky Round and cut it out. I pulled up the strips and stuck the edge to the sticky circle until all were stuck.
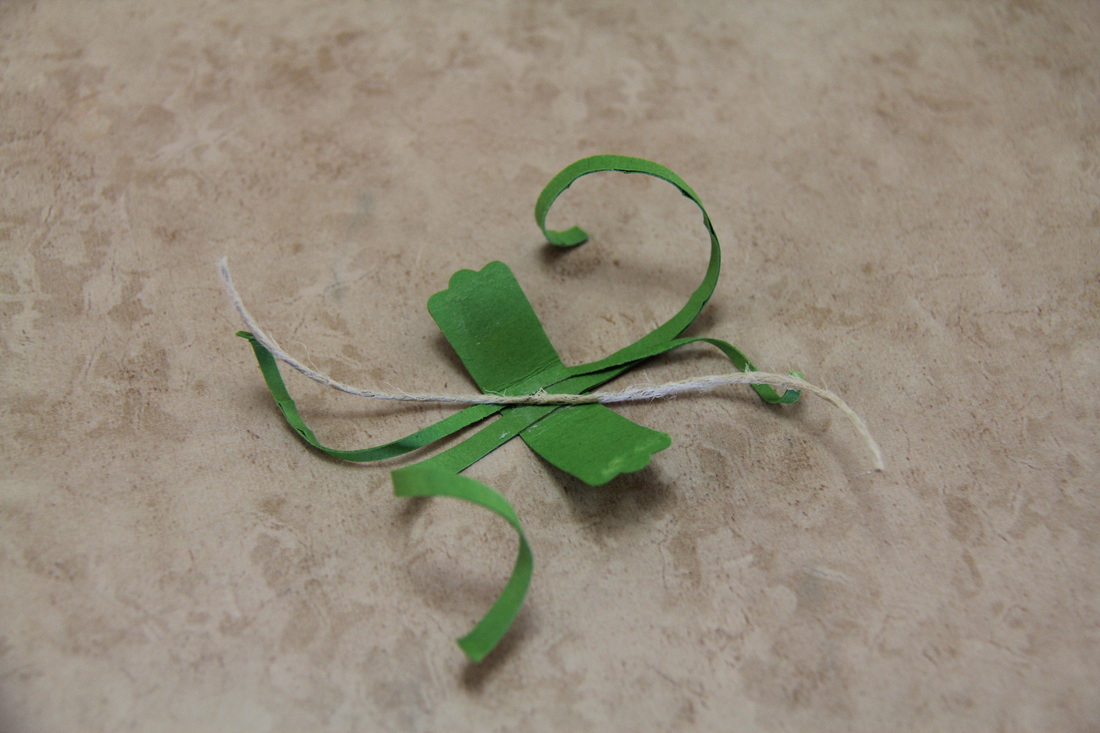
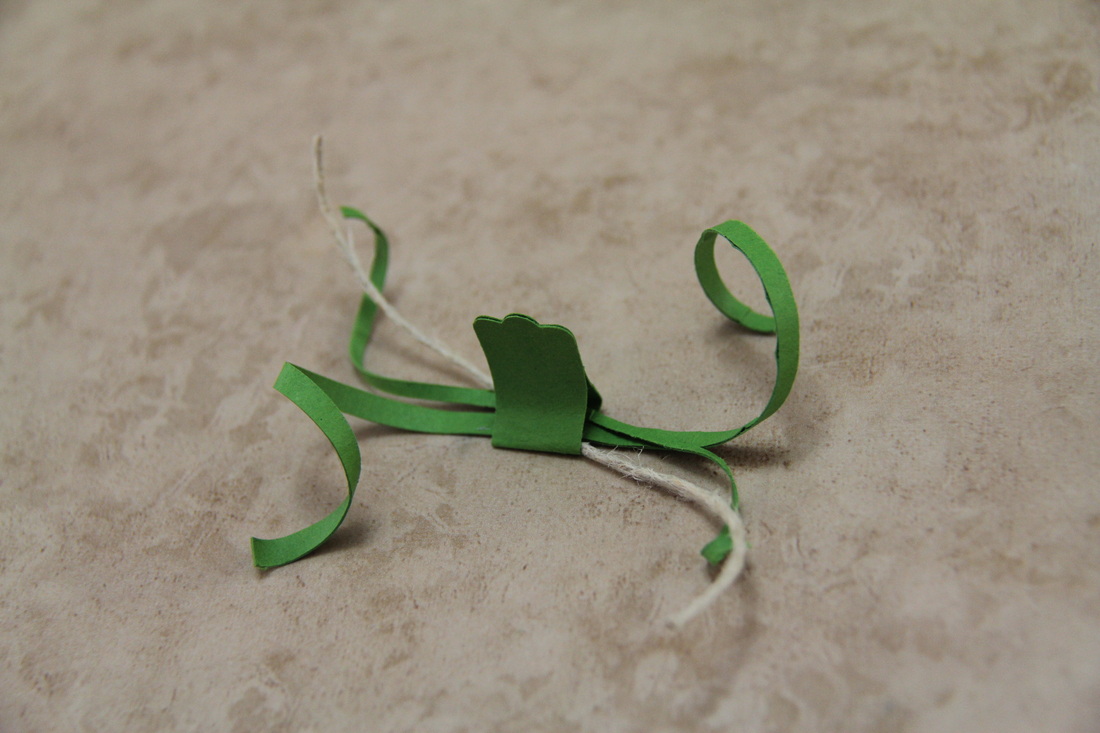
For the top I used the Modern Label punch and scored it. I cut a couple of very small strips of cardstock and again curled them with my bone folder and stuck these down along with some scraps of linen thread and then adhered the ends of the label punch together. Then adhered the "top" to the pumpkin. Ta da!
I think these would be great as a fun kids fall craft too. I'd love to see how you get crafty with pumpkins, so share links to your projects below.
Update! I guess over at Hand-Stamped Sentiments they thought a Pumpkin theme was a good idea too and made it into a theme challenge.
Check out all sorts of pumpkin projects by clicking here.
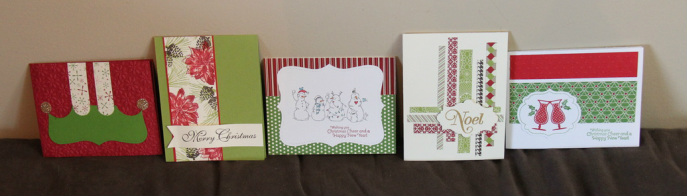
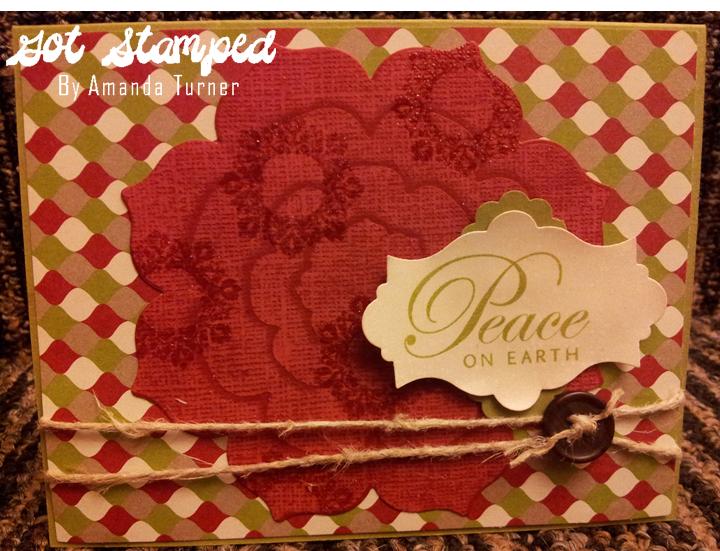
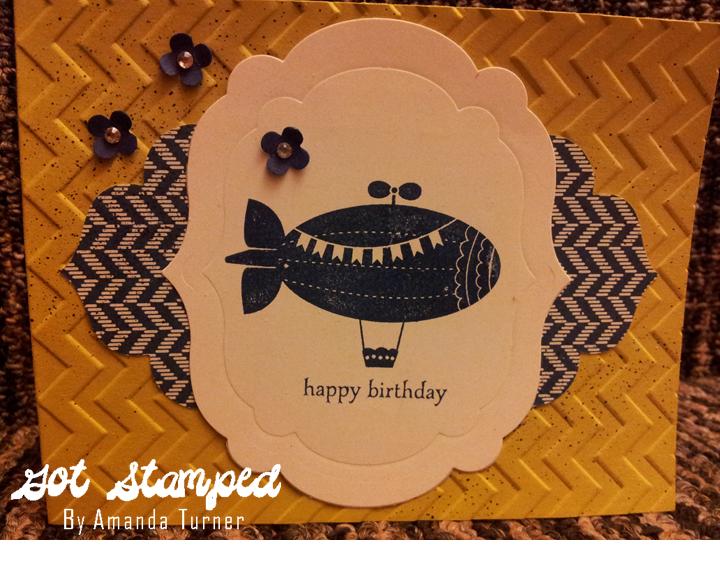
National Card Making Day was a huge success for me. Several people joined me throughout the day for some crafting fun and I got a ton of cards made. I've been really itching to start designing and creating Christmas cards, so that was my focus...as you can probably see below :)
This one was inspired by Retrosketches #32. I've been keeping an eye and wanting to play with several of their sketch challenges, but just haven't had the opportunity. I really have been playing with paper strips a lot, so had a blast with this sketch. I used the new Core'dinations cardstock and embossed and sanded to give it a bit of extra diension. The finishing touches (which are hard to see in the photo) is the Dazzling Details on some select stars on the tree.
I have decided that I really love playing with challenges, so watch for more coming :)
An embarassing admission: I hadn't even heard about punches before I started with Stampin' Up. Can you believe it? I must have been THE LAST crafter in the world to learn about these wonderful time-saving tools. I was alsways a notorious hand-cutter. I cut out everything from intricate handwritten titles, to simple flowers, and even basic shapes like circles and squares. I know...CRAZY! Punches are now one of my favourite gadgets that I love to have at my disposal. And, I'd love to make it easy for you to have tons at your disposal too. Which is why I have something Spectacular for you this D-Week (the last week of the month is Deal and Discount week - Yahoo!).
This week only when you buy one punch you can get a second punch at 40% off!
That is an unheard of opportunity that will not come around again soon.
Head here now to check out all the fantastic punches:
http://www.stampinup.com/ECWeb/ItemList.aspx?categoryid=943.
Here is a punch project using one of my favourite punches, the Elegant Butterfly.
Get in touch with me via the Contact Me tab, email, facebook, or phone to get your punch order in this week!

Put your hand up if you were once a kid.
What was your favourite toy?
My son is turning 9 next week (which is extremely hard to believe) and his favourite toys are Ninjago.
It's these little lego guys that (essentially) stand on tops and when you spin them you try to knock the other little Ninja off his top. They're pretty cool.
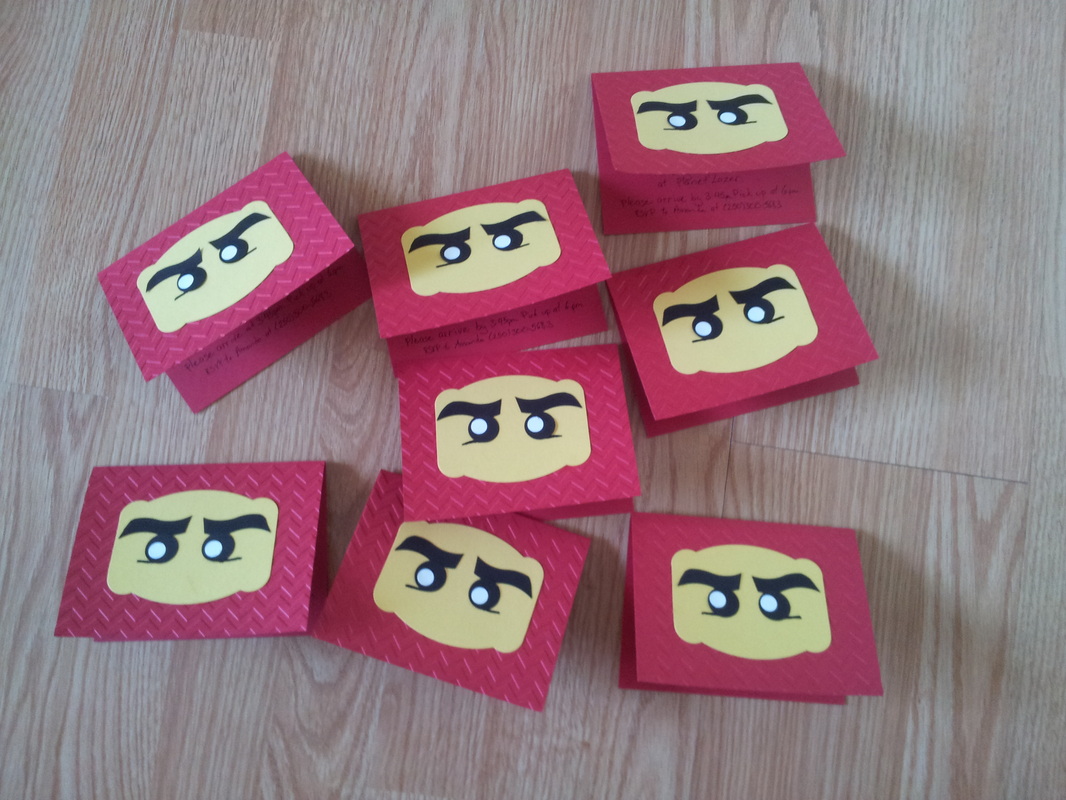
Anyhoo, of course with birthdays come... birthday parties. Woo Hoo! For parties to be fun you need people, and to get people you need...Invitations. I knew I wanted to make Ninjago invites for him, but suddently I realized that
it was only a week until the party - ACK! Stampin' Up comes to the rescue. Check these out:
I made these especially for my Liam to hand out and boy was he ever proud and stoked to give these to his friends.
It was a "good Mom day." Sometimes it's the little things, right? >sigh< >smile< >pat on back<
I designed, made, and delivered these so fast, you would not even believe it!
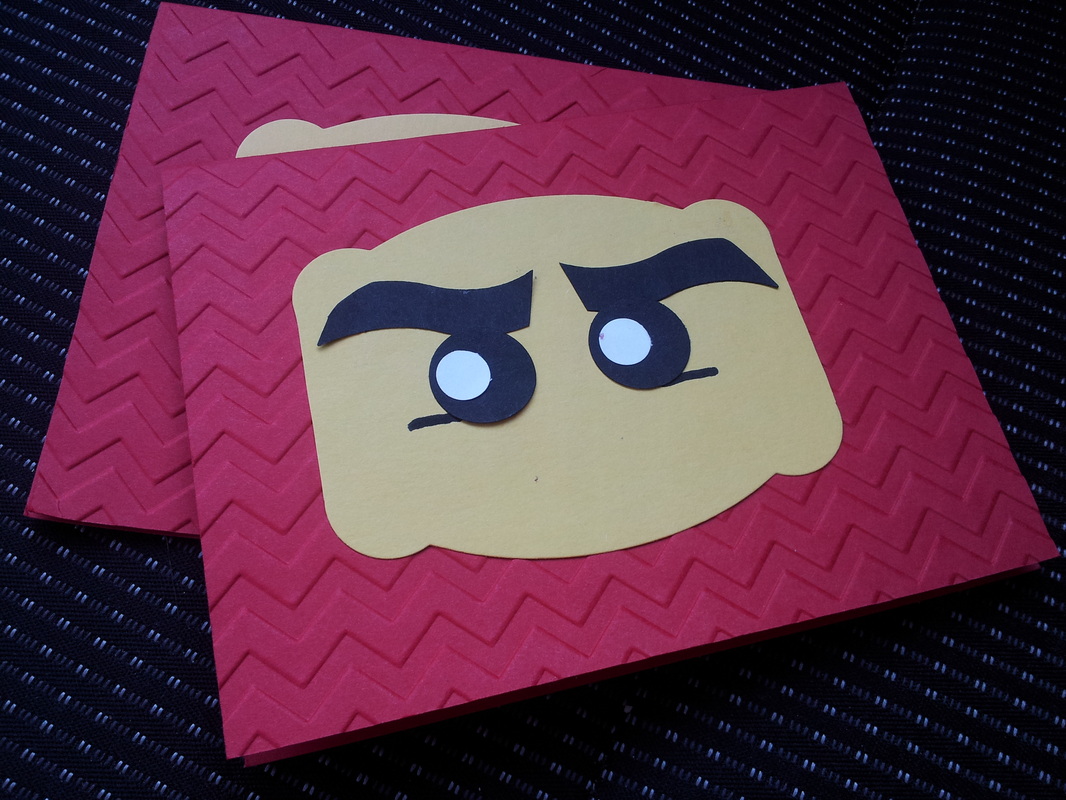
I used Real Red cardstock with the Chevron Embossing Folder for the background. For his head I used Daffodil Delight cardstock and the Apothecary Accent Framelit (then cut the ends off). His angry eyebrows are the wavy Bitty Banner Framelit (with the notches cut off either end). His eyes are just the 3/4" circle punch and the Itty bitty Shapes Circle Punch.
I had a lot of fun stepping out of my usual box and creating something unique just for my son. And, if it keeps me young...bonus :)
You are excited. I know you are. Everyone loves a treasure hunt...because at the end there is TREASURE!
Here is how this one goes...
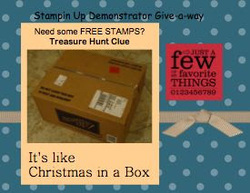
Each of the blogs below have a post with this treasure box and a clue.
Email me at
[email protected] after you have colleced 50 clues (list the clues and where you got them in your email please) and then you will be entered into the Fall Treasure Hunt Giveaway! Drawing will be held October 31, 2012 and the winner will be notified on by email and it will be posted on
Sherill Graff's website.
You want to know what the treasure is...don't you? DRUMROLL PLEASE...
The winner will get to choose $150 of Stampin' Up Products!! WOW!!
As for that blog candy, all those who coment on this post will be entered to win a Christmas Card Carrier with 6 handmade Christmas cards from me :)
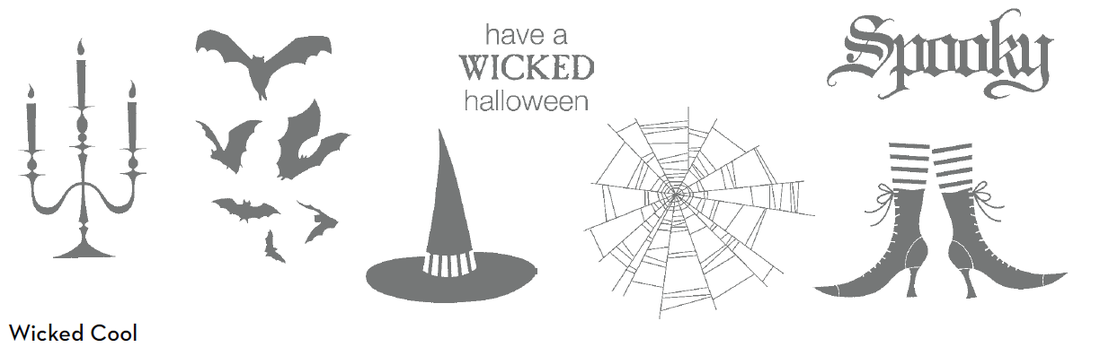
My CLUE is WICKED COOL! Because that's what I am, of course, but it is also because stamping for Halloween is a super wicked cool thing to do.
First off I would like to wish my Mom a very Happy Birthday today! She is my roots, my strength, my lighthouse. She is a wonderful giving person to the core and she deserves a great day. I love you Mom!
So, now that I have ventured into this video tutorial idea, I may have to stick with it for awhile (because it is too much fun). I recently learned that not only can you cut with Framelits, but you can also emboss with them! It's true. In this video I share this technique with you. I also use our super groovy new Core'dinations cardstock for some extra "wow"
Pretty neat, right?
Here is another look at those projects...
Hope you enjoyed the second video installment. If you try embossing with framelits feel free to post a link to your projects. And, hey, let me know if there is anything you would like to see. Thanks for watching!
Yep I was "one of those" kids. Back to school was my favourite time of year. And somehow that has stayed with me. I love the idea of school shopping; new crisp clothes, new school shoes and hold me back from the stationary aisle! You may have surmised by my hobbies that I love stationary! That is a whole other blog post...
Anyways,
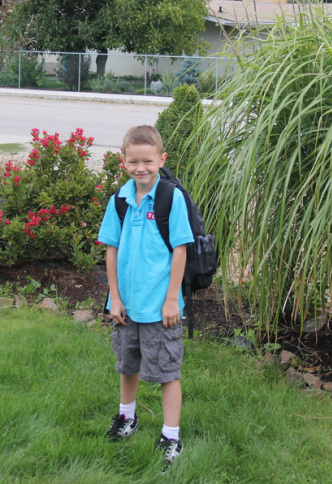
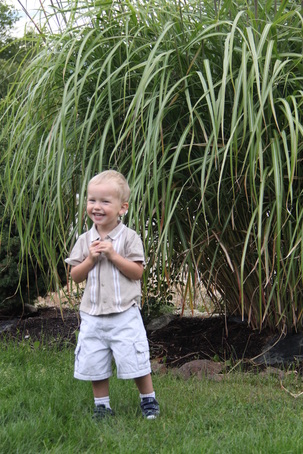
My oldest son, Liam, headed back to school today (Grade 4, the start of "intermediate" and the beginning of "real grades") and he was neither excited nor disappointed about school starting. He was accepting of reality and fairly
indifferent. Huh. Well. Whatever. My youngest son, Chae, went for his first day of Preschool today! He cried.
Wow! First day of school just ain't as exciting as it used to be!
Well, maybe not for them, but... remember that desk that I started re-doing a couple of months ago?
It's finished! I went to clean her up and start priming but it just came together lickity-split (plus it was threatening to rain so I had to hussle up or clean pain supplies twice).

Reminder of the not so distant past
|
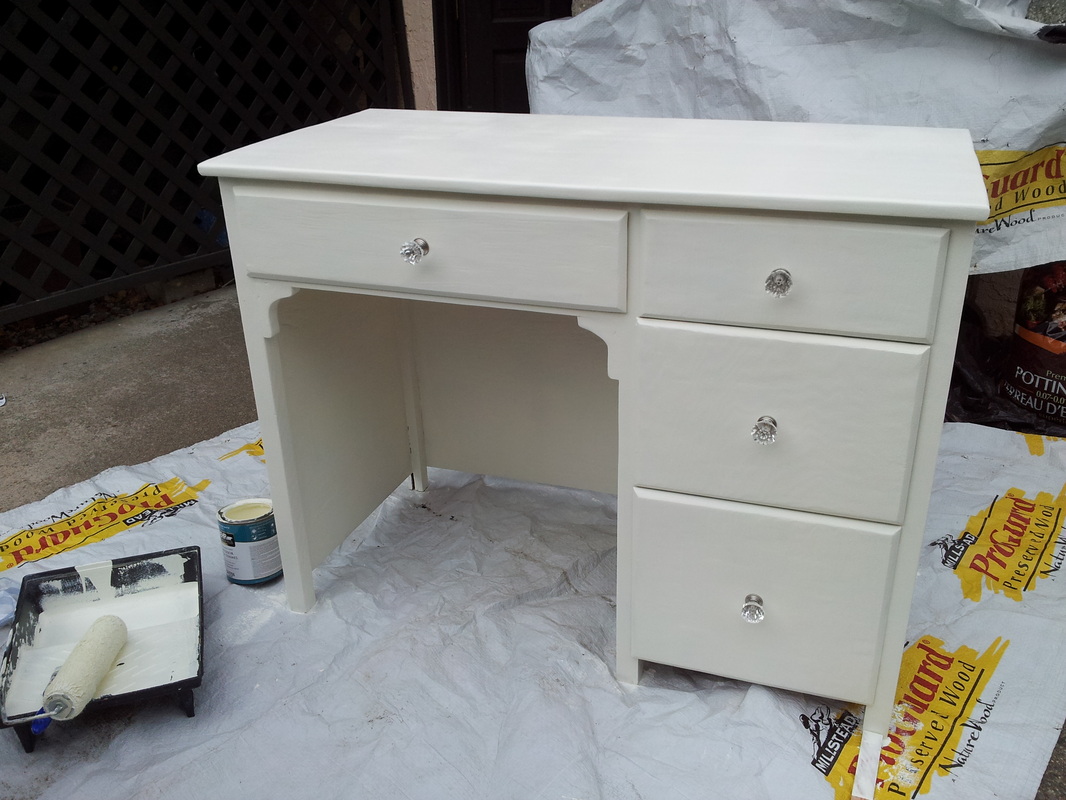
Fresh new coat of paint and new pretty shiny knobs
|
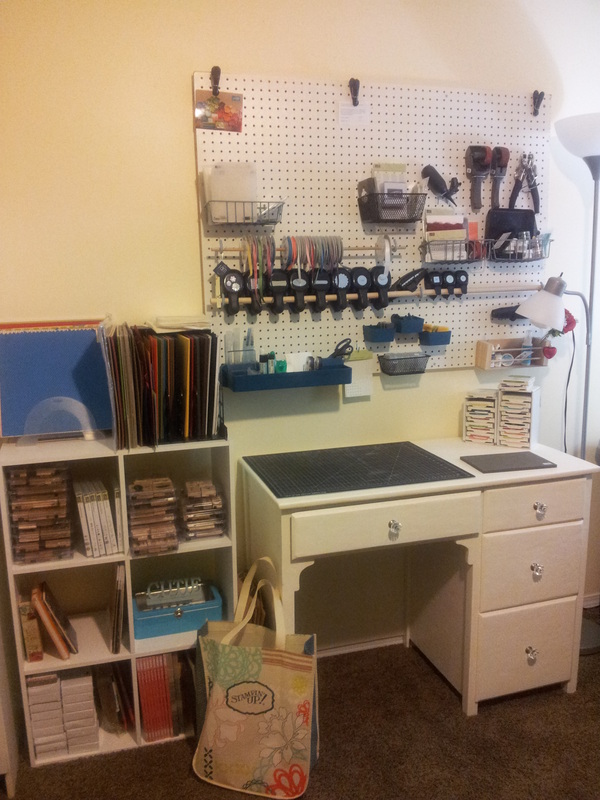
And here it is all tucked into my Idea Studio with my new pegbaord and all my Stampin' Up goodies.
Doesn't it just make you want to craft up a storm? It sure does for me. I am such a happy lady to have my new sweet little desk in and all my supplies put away within reach. By this weekend I'll have all the rest of the decorations up then I'll be able to give you "the grand tour."
Thanks for stopping and seeing my newest project :)
I'm out enjoying my summer vacation with my fam, but IT'S still D-WEEK!! D is for Deals and Discounts!! Wahoo!! Simply Serif Mini Alphabet Set 20% off! Only $25.57 and perfect for labelling all of your kids' school supplies as well as personalizing any card or scrapbook page.
D-Week continues until Tuesday, September 4th.
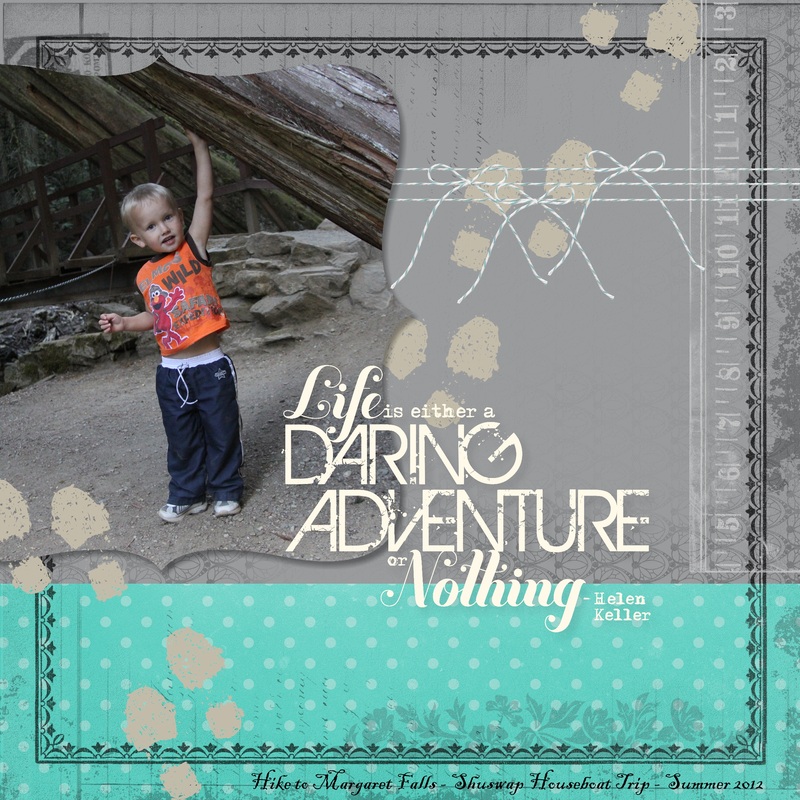
I can see how very fun it is to play along with online challenges. So, I'm going to try create projects for a couple of regular challenges and then decide which ones to stick with. Here is a sketch challenge called retrosketches that I have used to create a digital page. Hope you like it.


 RSS Feed