Me and Stampin' Up are on the same page. They are thinking about how you can wrap up all your holiday goodies too. Check out these great bundles.

| Got Stamped! |
|
Me and Stampin' Up are on the same page. They are thinking about how you can wrap up all your holiday goodies too. Check out these great bundles.
0 Comments
 It is time for 10 weeks of Christmas post #7! That means that it is only 4 weeks until Christmas! I always vow that I will start my Christmas shopping in July and be done by October, but here I am again. Four weeks to go and barely anything hid in my closet...Again! Maybe I'm putting the cart before the horse, but I've already got some great ideas on how to wrap up my presents this year. For those that know me, I am very much about Reduce, Reuse, Recycle. And perhaps even more so around this time of the year, so here are my ideas for getting things all wrapped up all while saving the environment. 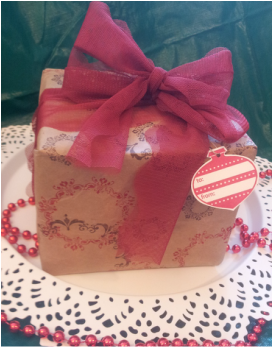 For those of you who have received a Stampin Up delivery you will know that the ites come with your very own free wrapping paper! Well, it's actually plain brown shipping paper so that your precious items don't shift too much and get banged around. BUT, with a few stamps and some tulle, you can make your own beautiful wrapping paper. For this pretty package I straightened out some of the shipping paper on my desk and then stamped all over using the Daydream Medallions stamp set with Real Red, Soft Suede, and Chocolate Chip inks. Then I wrapped it around the box and topped it off with a double bow using Cherry Cobbler Scalloped Tulle Ribbon. The tag I attached is using the Delightful Decorations set. I would be thrilled to receive a package like this under the tree. Wouldn't you? 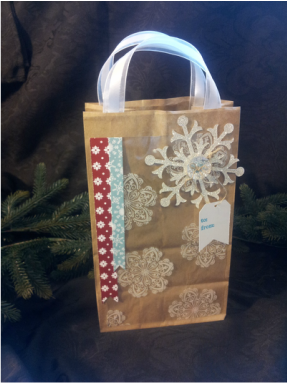 For those who prefer to stick things in a bag with some tissue paper how about making your own using paper lunch bags. I cut off the serrated top and added Organza Ribbon for handles. To decorate the front I cut a window sheet and stamped it with the Mixed Bunch stamp set in Staz-On white ink. I added a little bit of designer paper on the left. On the right I cut glimmer paper into a snowflake using the Snow Flurry Big Shot Die and added a Vintage Faceted Designer Button and the simple tag. What a cute way to wrap a little gift for a teacher or a coach or a colleague. And these are definitely re-usable. 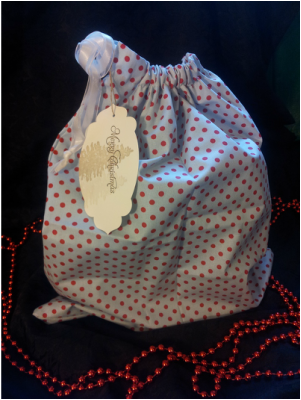 Here is my bag that I will be re-using again and again through the years. It uses one piece of the Candy Cane Christmas Designer Fabric. The bag is made using one fat quarter folded in half, so it ends up being approximately 17" tall and 14" wide. But, if you wanted you could cut the fabric in half and make 2 small drawstring bags for little gifts. For the drawstring I used the Organza Ribbon again. Remember that the fabric comes with three pices of designer fabric, so I ended up making 6 of them. And I finished them all in an hour! If you are interested in mmy pattern, just email me and I will be happy to send you my instructions. These great fabric drawstring bags will make wrapping up things super quick this year and for the next several years too. I will probably even use them for birthday presents, since the pattern isn't exclusively Christmasy.
To help you get your Christmas all wrapped up, you can win some BLOG CANDY from me. Post a comment and I will choose one person to win a package of the Candy Cane Christmas Designer Fabric FREE!! Yep, you know it and I know it. The signs are everywhere. Up and down the main street, in the papers, in the event sections of websites, you are being invited to them on Facebook. It is CRAFT FAIR SEASON! I, for one, love craft fairs. Probably because I love handmade items, and supporting local artisans and entrepreneurs, and seeing people I know, and eating craft fair goodies, and finding the perfect gift for the hard-to-buy-for people. Yeah, I've got a lot of reasons to like craft fairs. So, no big surprise then that I got to be craft fair seller rather than just a craft fair buyer this year. Here was my set up today at the Black Mountain Craft Fair. 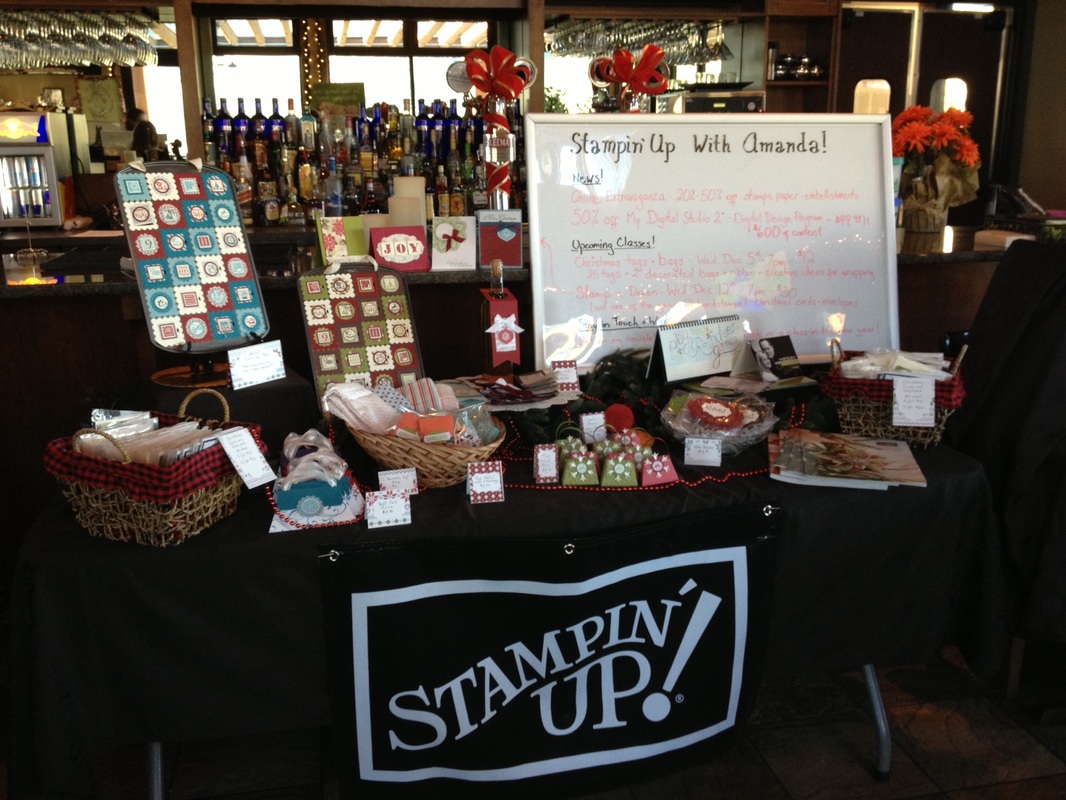
I brought Christmas cards, gift card holders, tea wallets, fabric drawstring bags, Christmas cards, treat bags, wine tags, wine charms, did I mention Christmas cards? Customers also had the opportunity to order an Advent calendar, sign up for the next Stampers Dozen Class, check out some digitally made calendars, and browse the catalogs. What do you think of the display? Of the items? Too much? Too little? I'd love to hear what you think, just leave a comment below. Here is a slightly closer up picture. 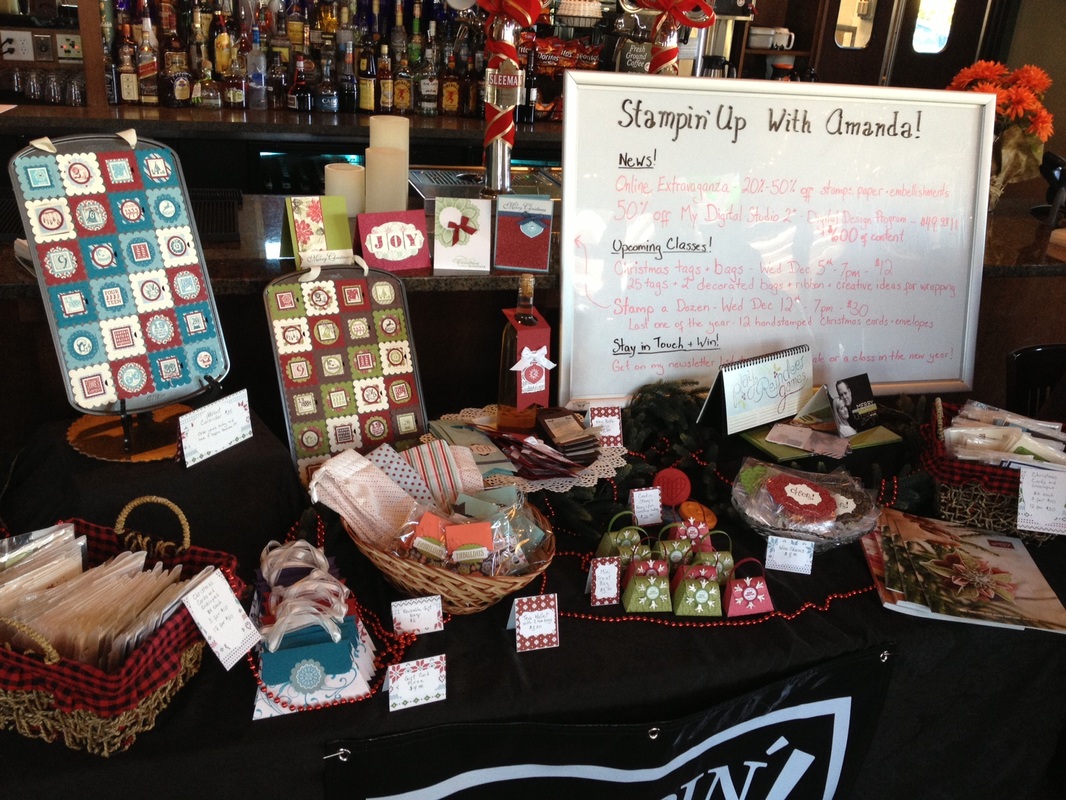
Of course, a great time was had by all and I'm really looking forward to the next one which is a United Way fundraiser on Wednesday evening from 5-8 being held at Brain Trust - #11 - 368 Industrial Avenue in Kelowna. Tickets are $15 and there will be wine tasting, appetizers, and of course great shopping. Get your tickets today and we'll see you there!
 For 10 Weeks of Christmas Post #6 I wanted to ask when does it "feel like Christmas" to you? When the snow flies? When the tree is up? When Wal-Mart is open 24 hours a day? Getting dressed for the first Christmas party? When family shows up? While you're in the midst of wrapping on Christmas Eve? For my oldest son, Liam, I think it feels like Christmas when we pull out the advent calendar. That is when the countdown can really begin. This year I have made a new advent calendar with Stampin Up products and I am excited to share it with you. 
The advent calendars use the Big Shot PeekaBoo Frames Die and are adhered to the front of a mini muffin pan! So, behind each of the doors is a little cubby hole for items that you choose. Here are a couple of creative ideas for things to put behind each window. 1. Traditional treats and chocolates scattered with notes to places where other larger presents are hid. 2. Notes with things to do as a family like movie night, decorate the tree, make Christmas cookies, go tobogannings 3. Pieces of a puzzle or a toy that the child will be able to put together after all the windows are open.
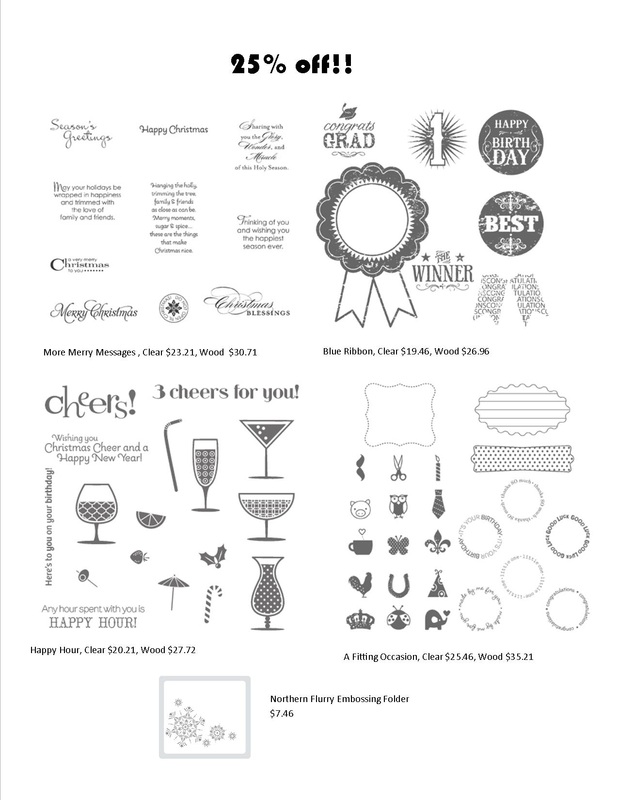
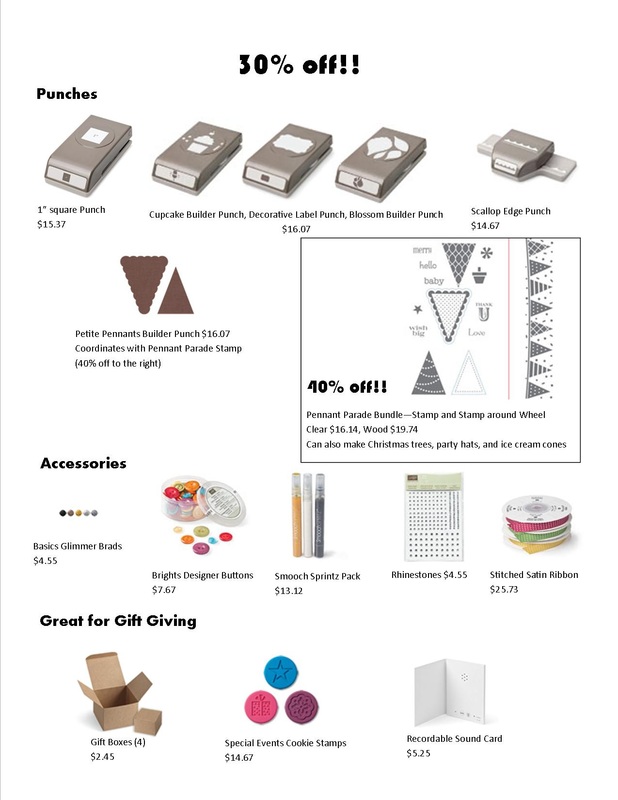
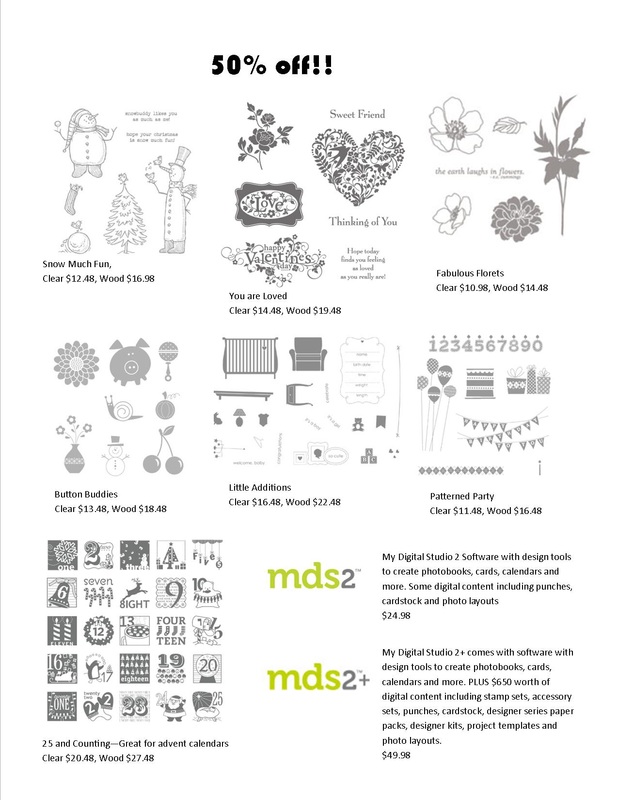
Each cubby hole is marked with a stamped number from the 25 & Counting stamp set (50% off during the Online Extravaganza until November 28th). Both of these calendars use paper from the Festival of Prints Designer Paper Stack. I am happy to be able to offer you the opportunity to order your family Advent Calendar for $40. Calendars will be available to order until November 29th. Please let me know if you would prefer Green and Red or Red and Blue. 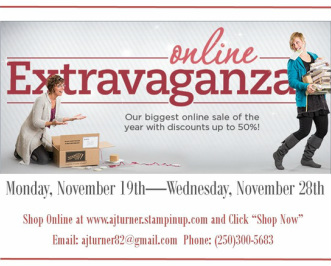 Ready! Set! SHOP!! That's right it is time to get your Christmas shopping list out and get once-a-year deep discounts. 25-50% on stamps, punches, embellishments, and My Digital Studio! Today only there is 20% off the Big Shot! This never happens! If this item is on your wish list call me today before 8pm. The items in the photos below are on sale until next Wednesday, November 28th. There is no minimum purchase and you can buy additional products from any of the current catalogs on the same order. There is something for everyone on your list!
If you are interested in joining my team as a demonstrator there are even greater discounts you can enjoy. Contact me for more information.
Happy Shopping!  *Stampin' in a winter wonderland* Thats what I felt like this weekend. The snow JUST KEPT coming DOWN! The boys and I had a grand time with snow angels and making snowmen and shoveling the driveway. And we cleaned off the car with a snowball fight. The snow was so wet that it made immediate snowballs - PERFECT! Here's a photo out my front window before all the footprints and snowball making. 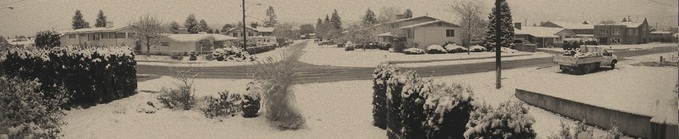 For post number 5 of my 10 weeks of Christmas series, I want to highlight some VERY easy card and gift tag projects. Snow Festival Designer Tags Kit
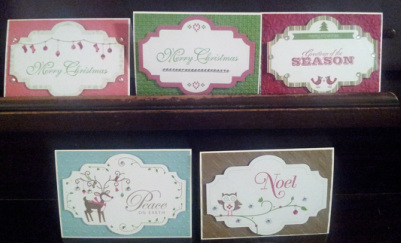
The Snow Festival Designer Printed Tags are great for Christmas cards or tags. To make it even easier, you are able to order the cards in a kit. Each kit comes with 20 white notecards and envelopes, a package of snow festival designer printed tags, a package of rhinestones and coordinating cut embossed cardstock to make 20 cards. Kit is $25 and available until December 14th. I found the Greetings of the Season stamps perfectly coordinate with this project. Snow Festival Designer Series Paper
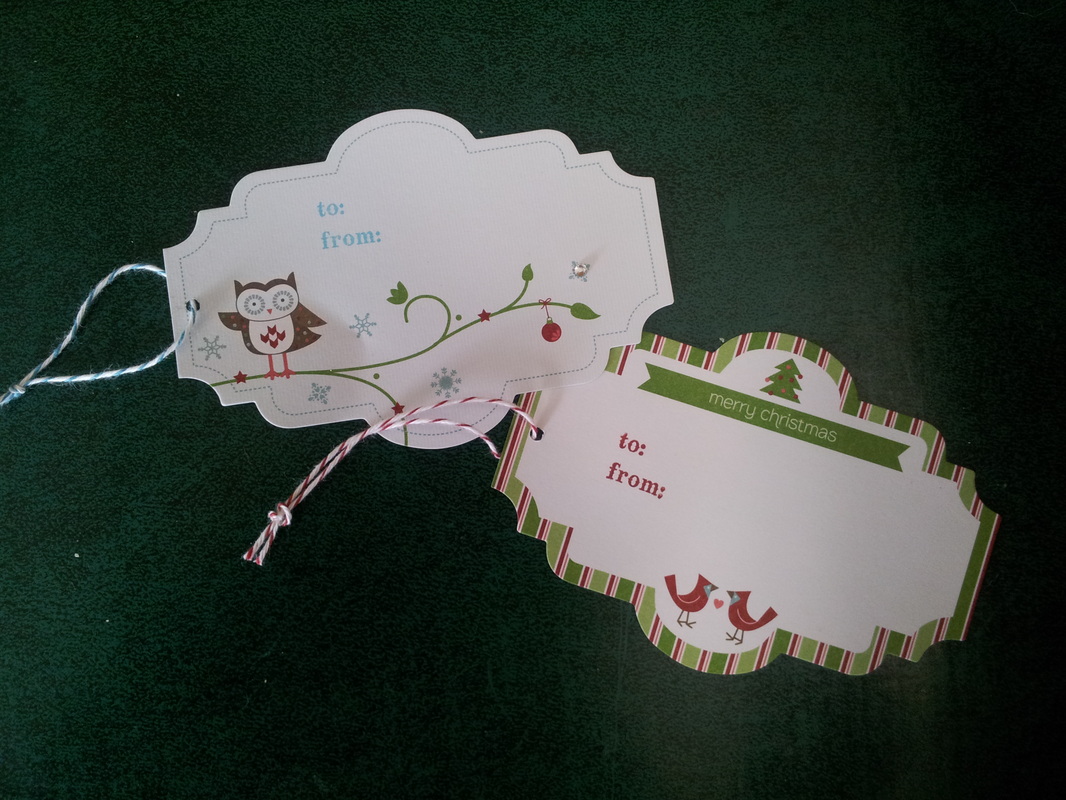
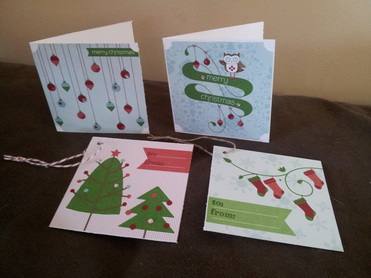
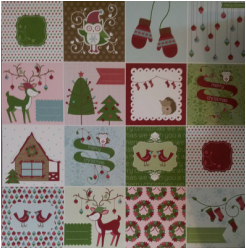
The Snow Festival Designer Series Paper comes with 12 double-sided sheets of printed paper (two each of six designs). Two of the sheets have 16 3x3 squares (see upper right) that are perfect for little cards and tags. The easiest way to make the cards is to cut 12 x 12 white cardstock into 8 pieces each measuring 6" x 3" and then adhere the square. For the tags just punch a hole in the corner and add "to" "from". With these two sheets you can make 32 cards and tags. You will also have additional paper left over to make other cards and tags or to use in a Christmas album.
With these easy projects my hope is that you won't have to miss out on a minute of all the snowy fun :) I am thrilled to let you all know that I have been asked to guest design at Made Especially for You Blog this week.
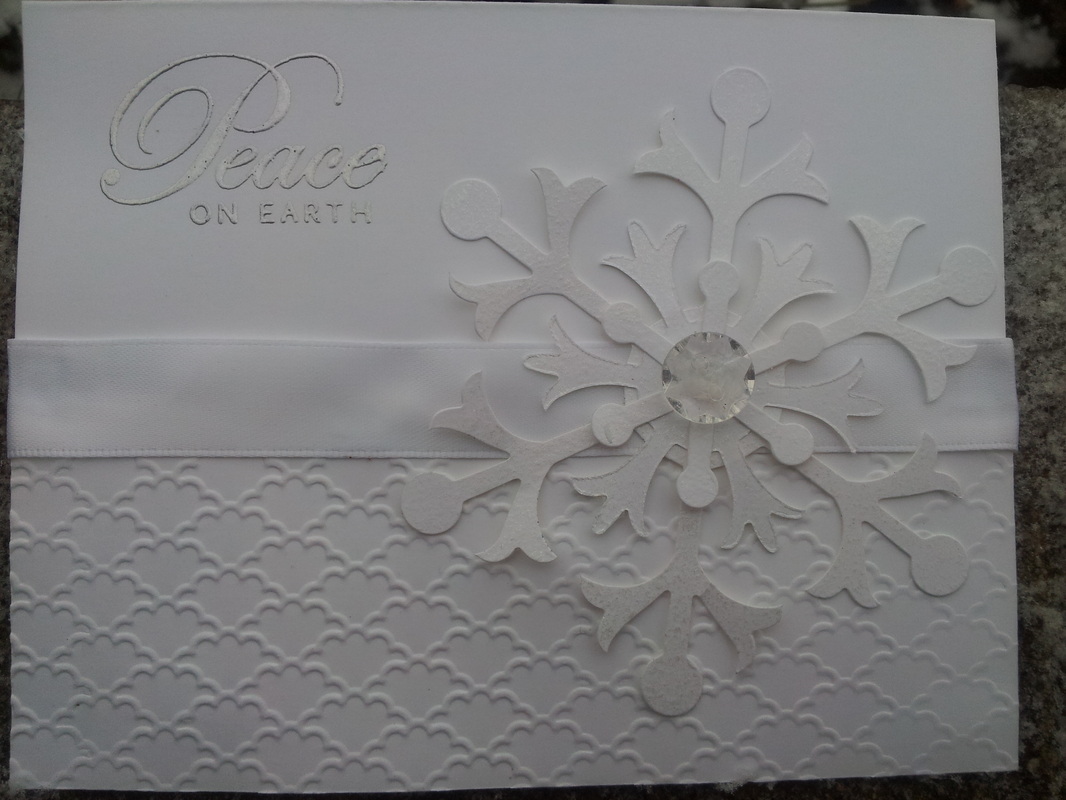 I used the Big Shot to emboss with the Fancy Fan embossing folder and cut out the snowflake with the Snow Flurry Biz Die (from the Holiday Catalog). Then I hope you can see the Vanilla Shimmer Smooch Sprintz all over the snowflake to make it shimmer and sparkle - it's definitely evident in real life. The Sentiment is from the Greetings of the Season stamp set (also from the Holiday Catalog) and is heat embossed with silver embossing powder. The finishing touches are the Organza Ribbon and the Vintage Faceted Deisgner Button.
You can subit your take on the sketch at the Made Especially for You Challenge #14. Have fun! 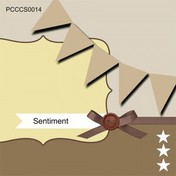 This week is the Grand Opening of the Paper Craft Crew Challenges and here is their sketch. There have been many that have just fit my bill and I like this one a lot too. 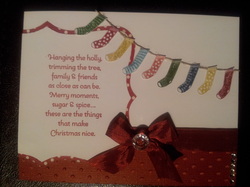 And here is my version. Didn't it turn out great? I used the Owl Occassions stamp for the stockings and More Merry Messages for the sentiment. I took a risk as I don't ever use a sentiment as the focus point of a card, but I love it for this layout.
 That's right it is time again for 10 Weeks of Christmas Post #4!! When you are ready to go out to cut down your Christmas tree from the woods (unless you cut your tree down from the box in the garage like many right-minded city-dwelling individuals) you will undoubtedly consider the proper tool fo the job, and not go at that woody stump with a steak knife, but with a nice sharp ax. This is enable you to complete the job in an appropriate amount of time and do less damage both to yourself and to the tree. For this weeks post I wanted to tell you all about the exclusive new Stampin Trimmer. It has just become available and it is a tool that every paper-crafter needs to have at their fingertips. It is the sharp ax in the toolshed...now you see where I was going with that. 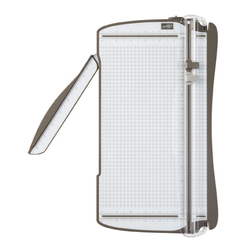 This nifty gadget is not only cuts, but scores too! It has a full 12" cutting
track so that you can cut and score full 12" sheets of designer paper or cardstock. It has extra space on the top and the bottom for both the cutting and scoring blades so both can be on the track at the same time. The Stampin Trimmer also has an extended measuring base of 6 1/4" which provides you with a larger work area and means that you can make common cuts and scores without using the extendable arm. The extendable ruler arm pulls out and extends to 15 1/2" for all your cutting and measuring needs. The rulers have increments down to 1/16" and the grid lines are 1/4" There is also a handy dandy storage compartment under the base to store extra blades and other tools for when you travel to a crop. I will admit that I have been waiting not so patiently for the Stampin' Trimmer since I got the new annual catalog in May. The cutter I had was cheap and flimsy and small and inadequate in every way. I was embarrased to use it in front of people. So, I was heaps of happy when we were finally able to order the new Trimmer. And I find mine so convenient. Not only can I score and cut with one product it also works so slick and smooth. Once you try it you won't go back. To get yourself a shiny new ax to cut down the perfect Christmas tree I would recommend Home Depot. But if you would like to order the new Stampin Trimmer (126889) it is $41.95 (plus shipping and taxes...unless you order it in your customizable starter kit which has no shipping and taxes). Let me know what you think of the new trimmer in the comments below. Wanted to share a pic of my favourite little goblins. Here they are just before heading out for some good old fashioned trick-or-treatin'. Don't they look super? Hope everyone had a fun and safe halloween :) 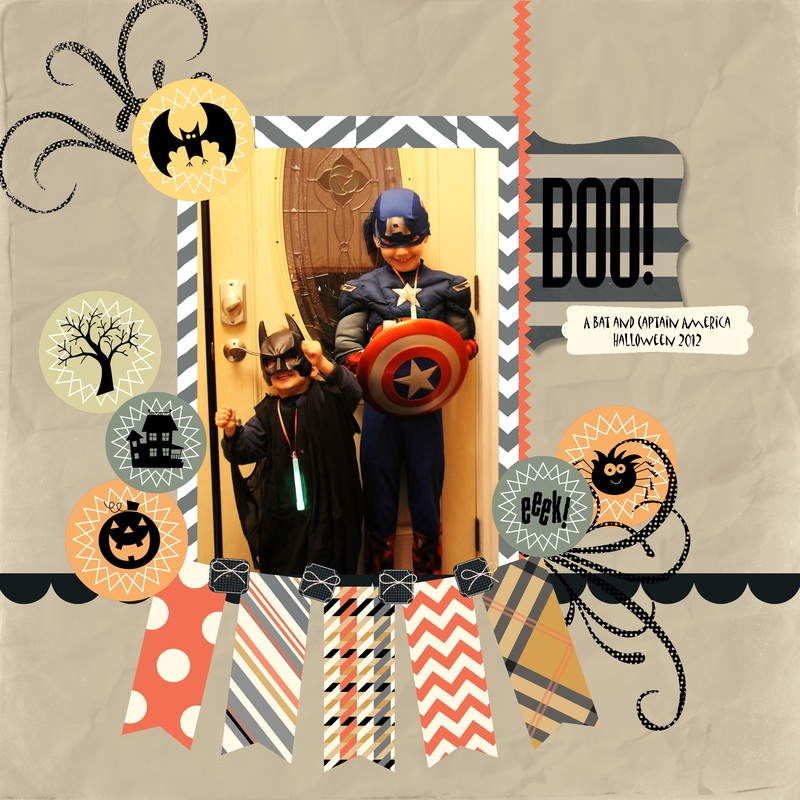 Btw, this is the absolute fastest I have EVER scrapbooked a photo! Lovin' my MDS 2+! 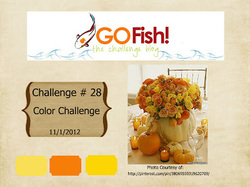 My layout colours were inspired by the Go Fish Colour Challenge #28.
| 

About MeI am a spunky young Mama of two spunky young boys. My favourite place to be is my idea studio playing with my Stampin' Up goodies :) 
Here I am!


ArchivesJanuary 2013 Badges
Blog Roll
Tamara Casorso - Sweet Stampin' Spot
Heather Cooper - Plays & Papercrafting
Julie Davison - Julie's Stamping Spot

Elizabeth Price - Seeing Ink Spots
Tessa Wise - Crafty Girl Designs
Mercedes Weber - Paper Creations by Mercedes
Shelli Gardner - So Shelli
|

 RSS Feed